Looks real nice. If your gonna build it, build it right the first time,right? I hear ya on finding the straight treated. I just bought some 2x10 treated for a couple egress windows. And it took some digging to get what I wanted.
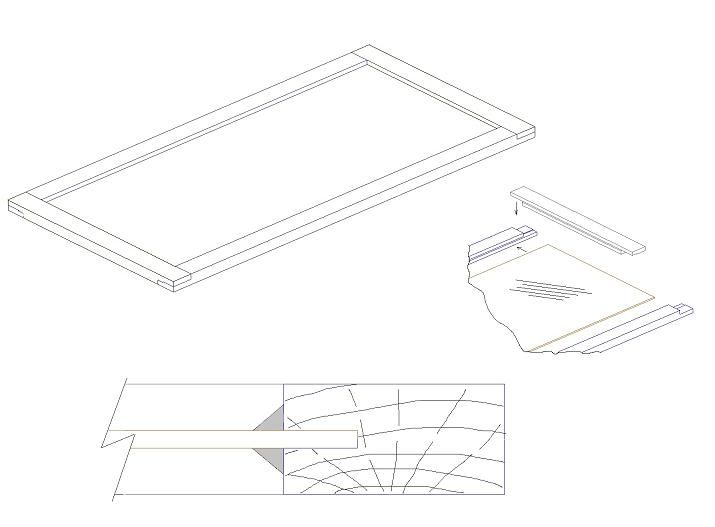
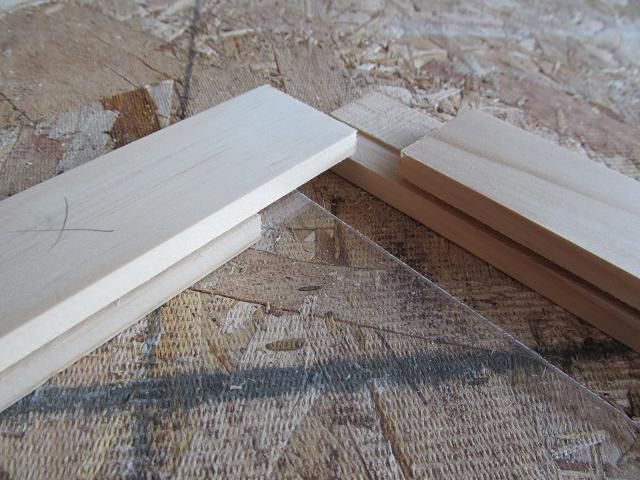
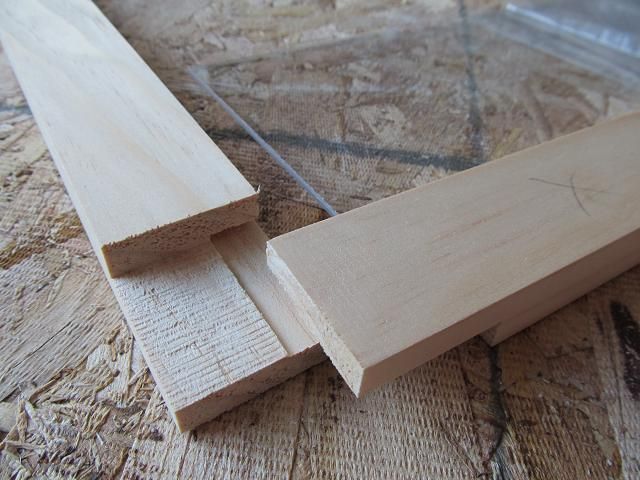
The stand has been on hold for several days as a family member has had some medical issues I have had to deal with on their behalf. I did have an opportunity to redesign the windows and how they will be constructed to simplify making them. Its a simple lap joint ans a slot for the plexiglass. Soon I will be back to work on the stand but sometimes life gets in the way.
Window construction Is under way. Waiting for coats of paint to dry is taking too much time in the chilly weather.
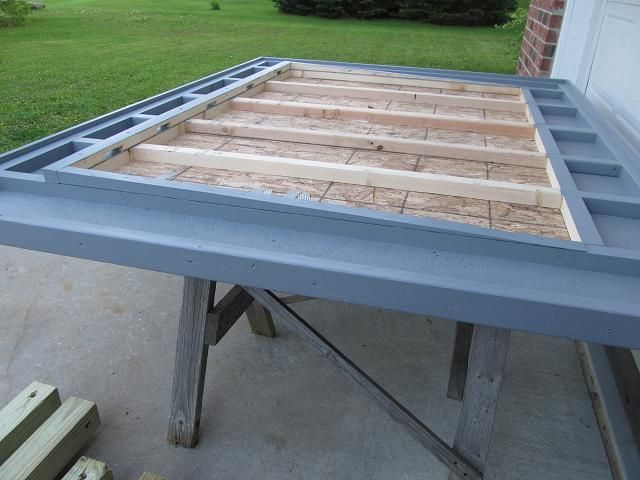
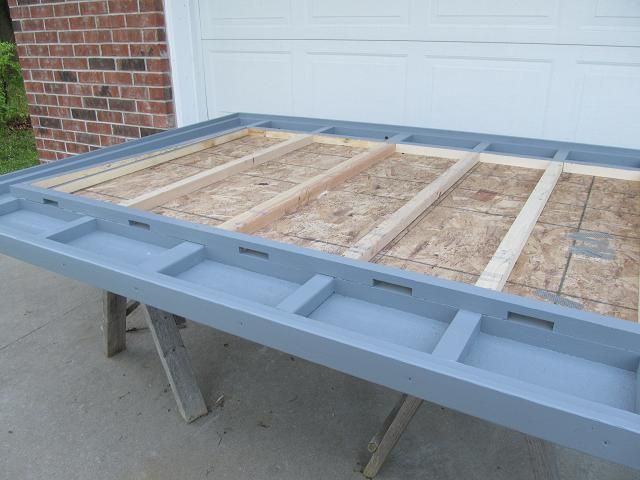
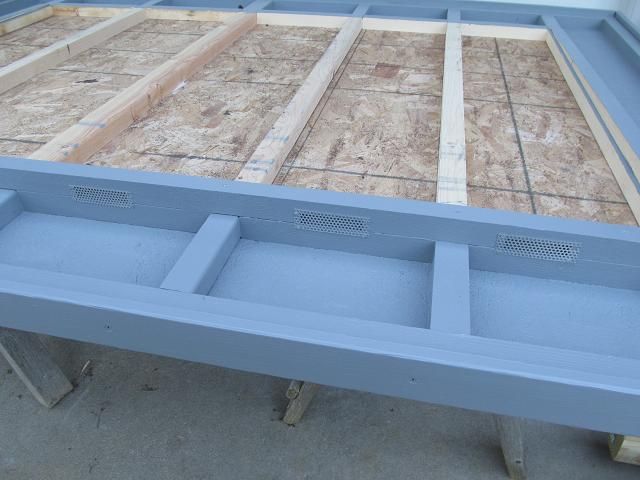
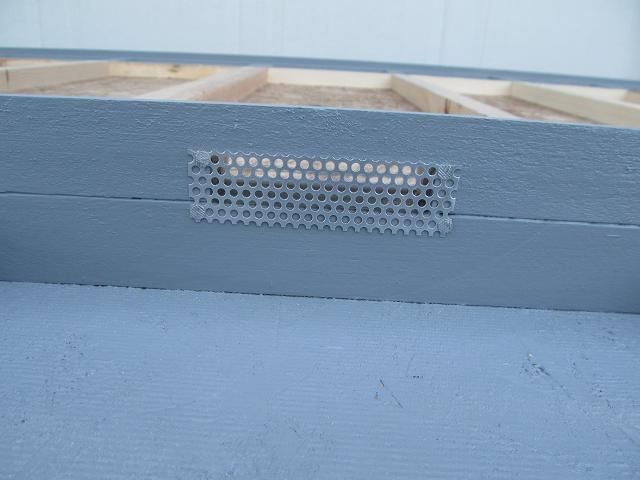
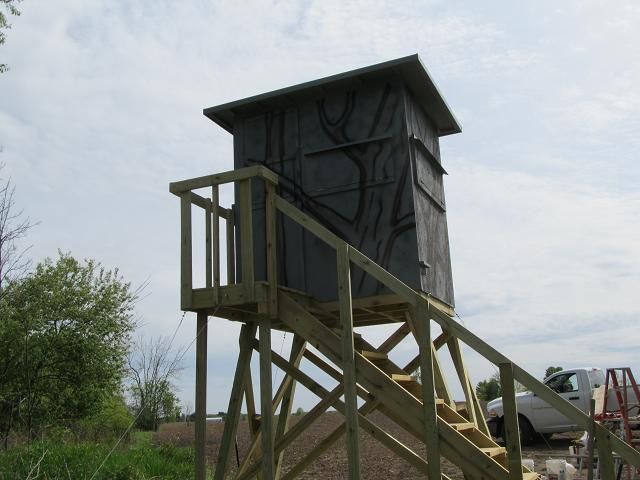
In the meantime, I decided to add a little pitch to the roof to make sure the rain and snow are pitched away from the side with the stairs and the door. I ripped a couple wedges that fade from 1 ½ thick to zero thick. Then I cut some ports in between the bays to act as air vents. Then I covered them with aluminum mesh sheet to keep bats and wasps out. I will put a inlet air vent in the bottom of one of the walls. This way, when the stand is sealed up over the summer and its 100+ degrees outside, the stand will be able to breath a bit.
While waiting for the windows to dry I am making the tracks that they will run in.
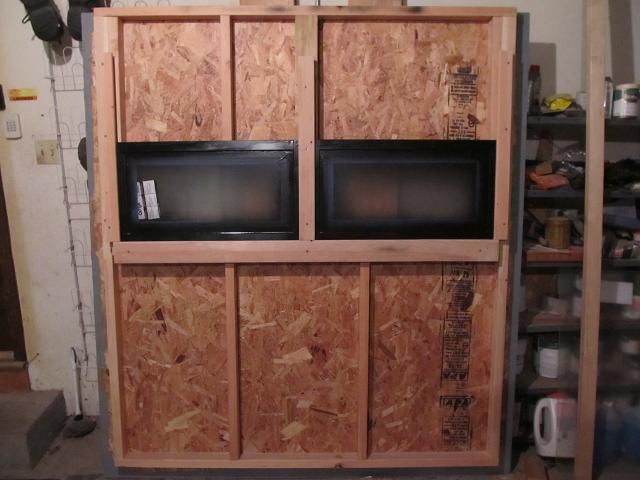
All the windows are made and painted and the tracks installed. Time to start insulating and covering the inside walls with 1/4 inch OSB. I think I will paint the entire inside flat black. I also need to make the window counterweight system so no matter what position I want to lift the windows, they will stay up.
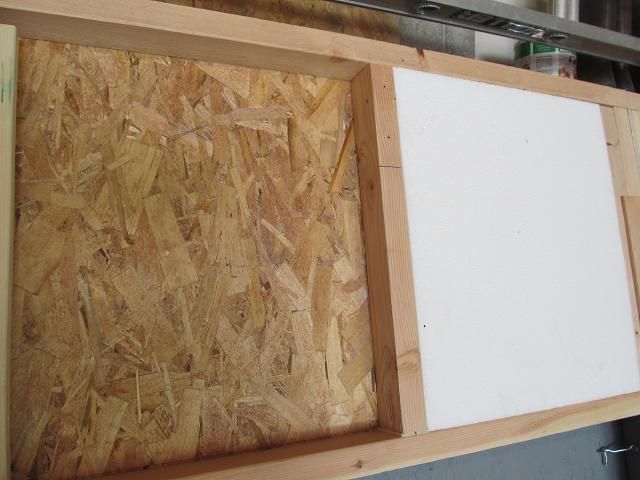
I started insulating the walls with ridged foam that 1.5 thick. I have some leftovers from the last meat smoker project so I didn’t need to purchase much additional foam.
After the insulation, I covered the wall with ¼ inch OSB.
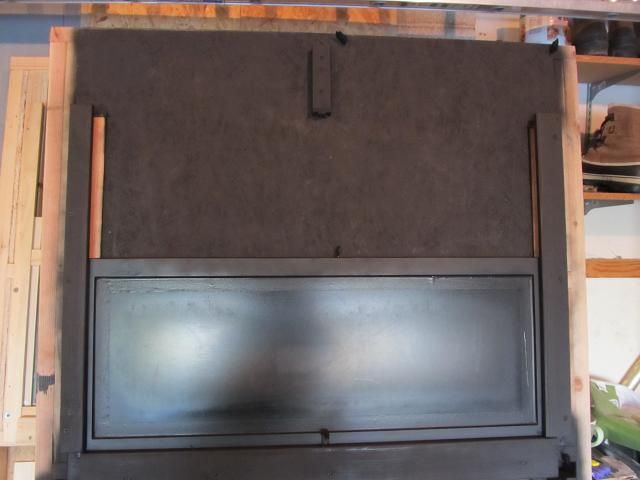
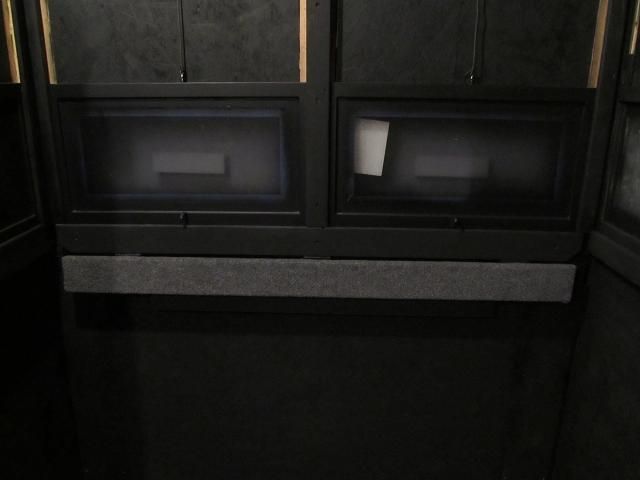
Then gave the interior a spray coat of flat black.
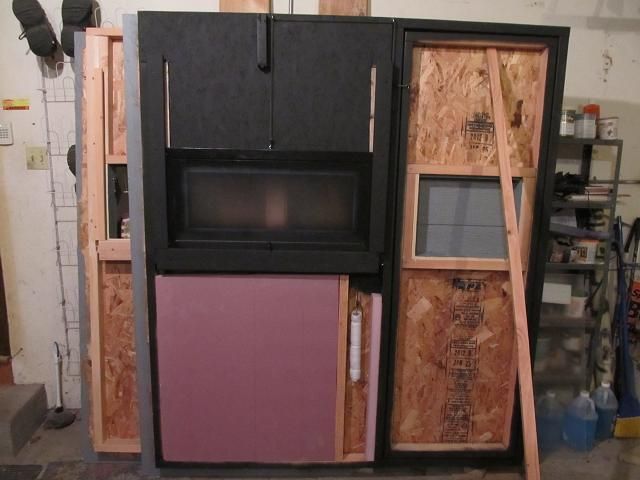
For the bottom sections, I did the same except I had to create a smaller and uninsulated area for the window counter balance weights.
The ¼ thick OSB panel that covers the counter weight has to be removable should I need to service the weight. The other portions that never need to be removed are nailed in place.
I made a short video of the windows and the counterweight. The windows will stay open in any position without needing to prop them open. They slide well and are not too noisy
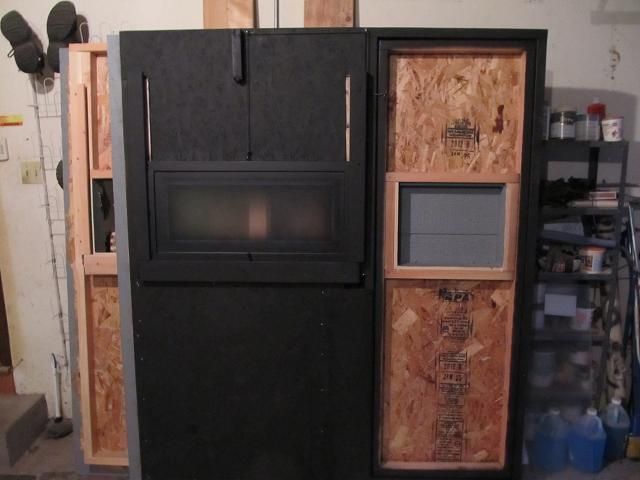
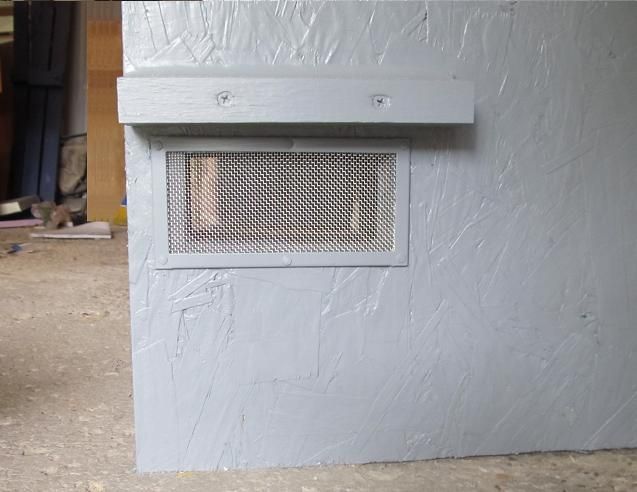
Because I have air vents at the top of the stand to vent off the hot air when the stand is sealed up during the off season, I needed an air inlet. I added a stainless steel mesh screen wrapped in an aluminum frame and then put a little rain guard above it. I placed it as close to the floor as I could. I think I have all the venting I need and hopefully the stand will have enough air flow to avoid getting moldy inside.
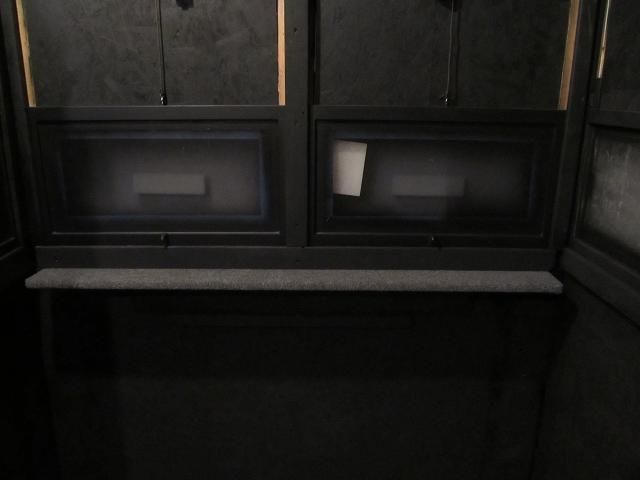
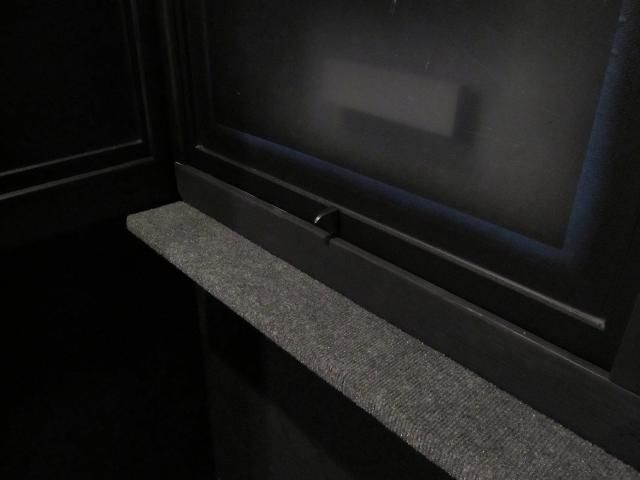
With the walls done I added a flip up shelf on the long wall and covered it with the same indoor/outdoor carpet I plan to use on the floor of the stand. Its hinged and can be lowered to lay flat against the wall when its not needed.
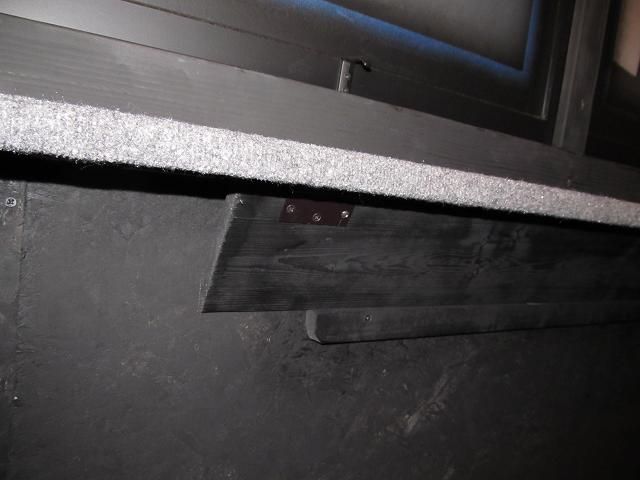
Lifting it and swinging the angle support down lowers the shelf.
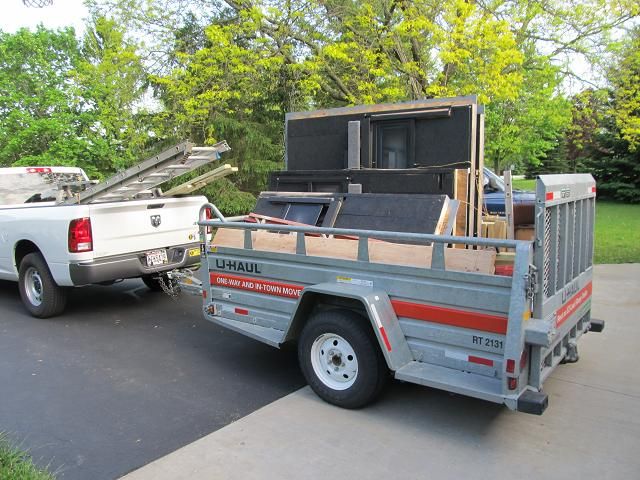
After some dry weather and a forecast for a nice weekend I reserved a U-Haul trailer to get the stand up north to where it will be erected. Friday afternoon I was loaded and ready to go.
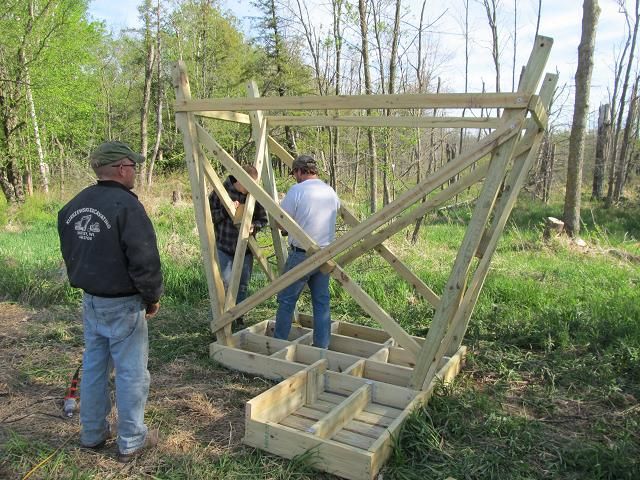
I enlisted the help of 2 of my brothers and a nephew. Was started at 8:00 on Sat morning. Building the stand didn’t leave a lot of time of picture taking but I did my best.
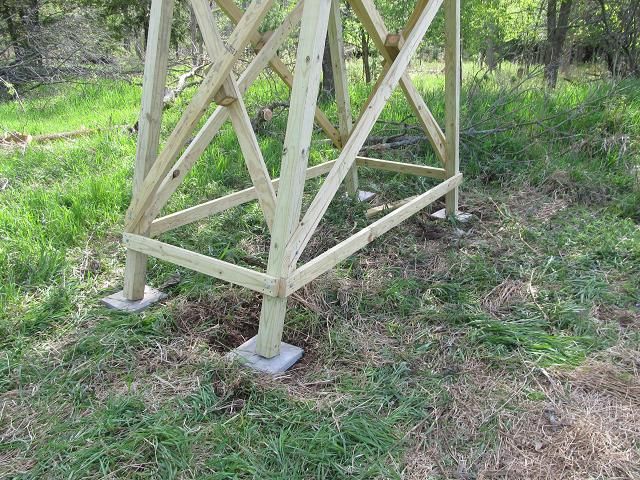
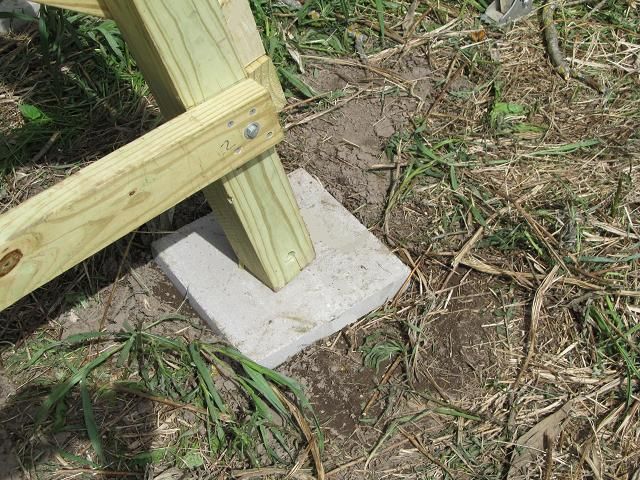
We flipped the stand over and set it on cement pads and leveled it.
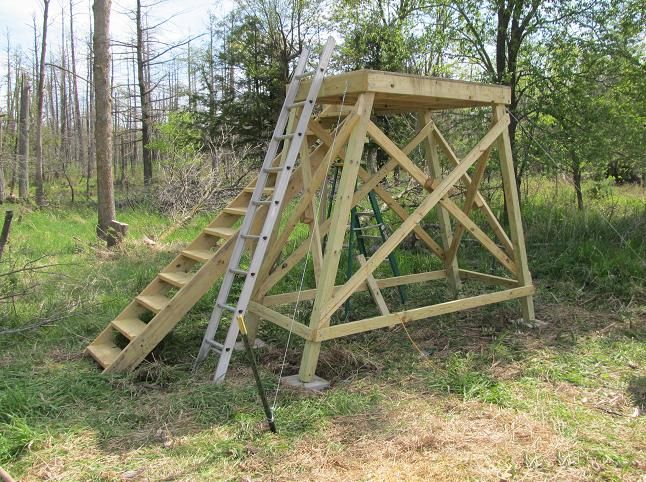
Than anchored it in 4 locations with 3/16 cable and steel posts driven deep into the ground.
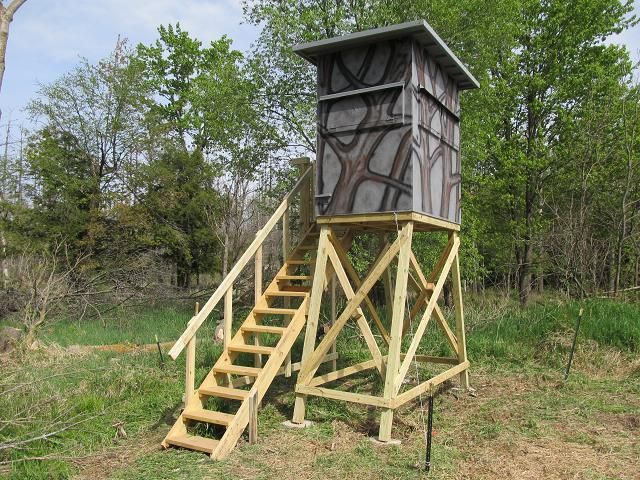
The pre-made stair case was the next addition.
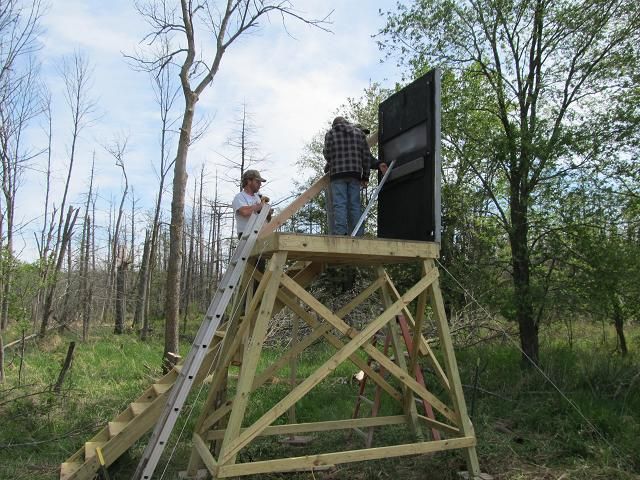
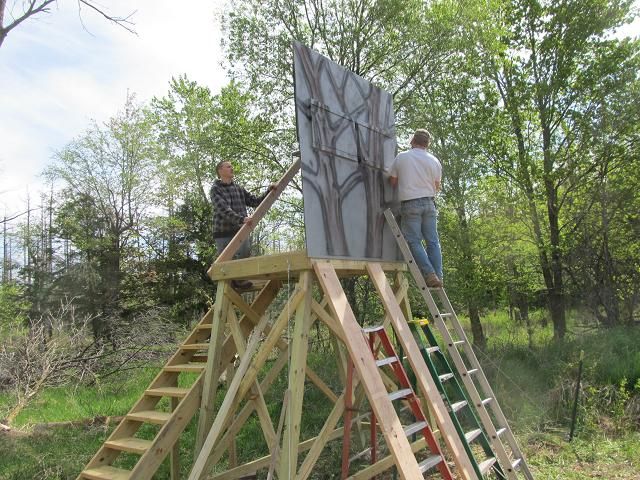
Then it was time to attach the walls.
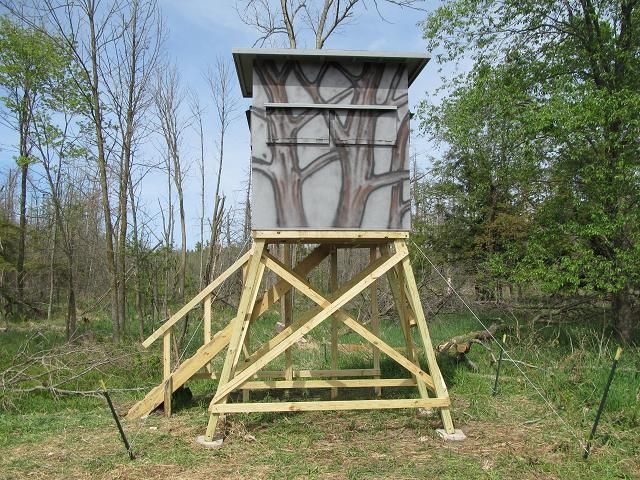
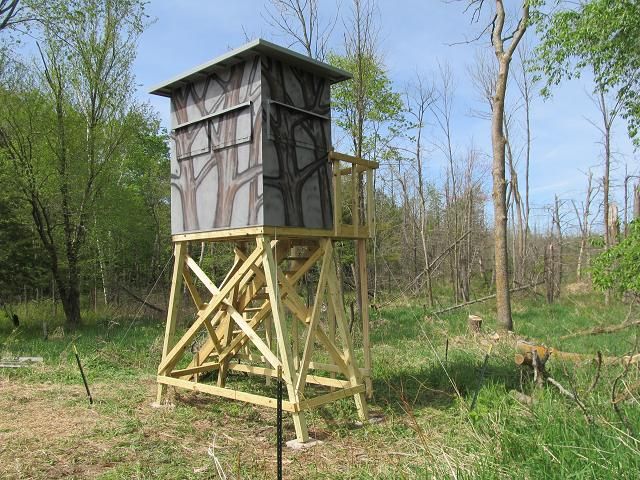
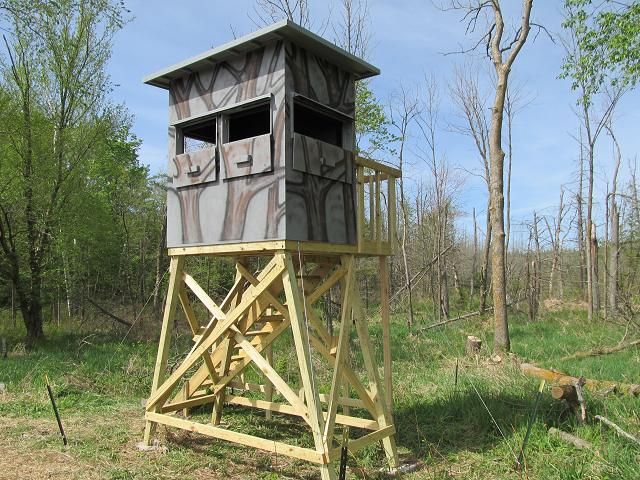
Putting up the last wall and the roof was a chore and I forgot to stop for pictures. It wasn’t until I finished the stair railing that I remembered to take more pictures. Here is the finished stand.
Here it is with the windows open and shutters down.
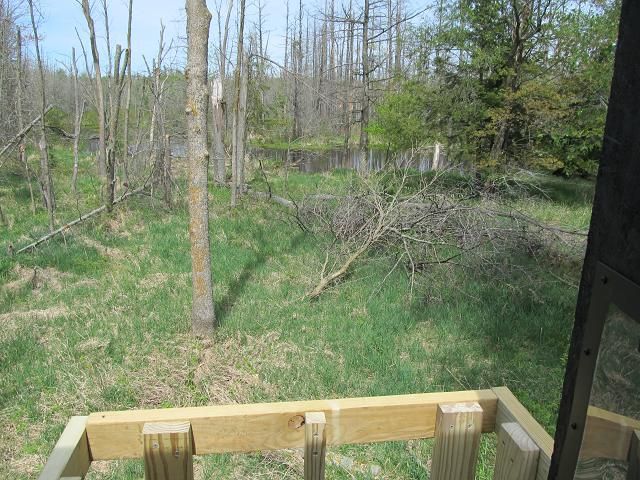
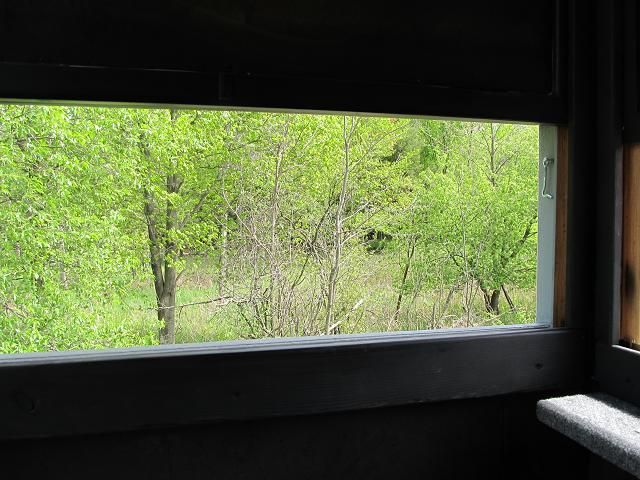
Here is the view looking North from the porch. There is a river that became a pond a few years ago when beavers dammed it up. You can see all the trees that died from being under water. The beaver problem is gone but the damage remains.
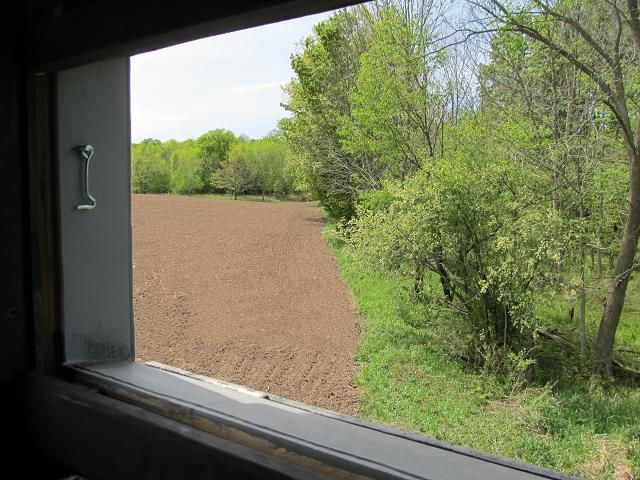
The view looking West. you can see 440 yards.
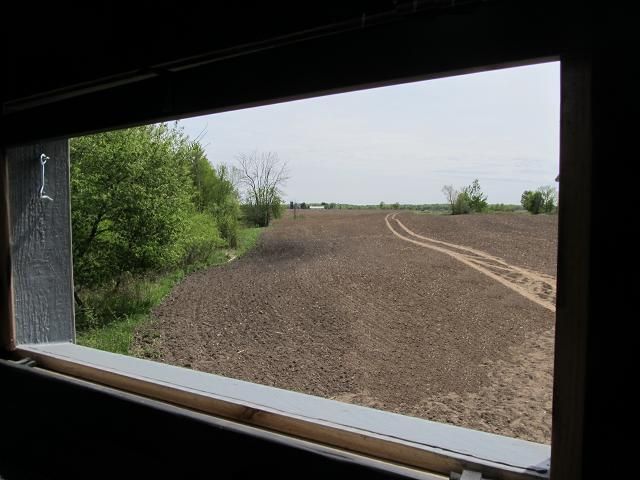
Looking North you can 1,000 yards to the farm.
Looking East to the river. I need to cut some shooting lanes.
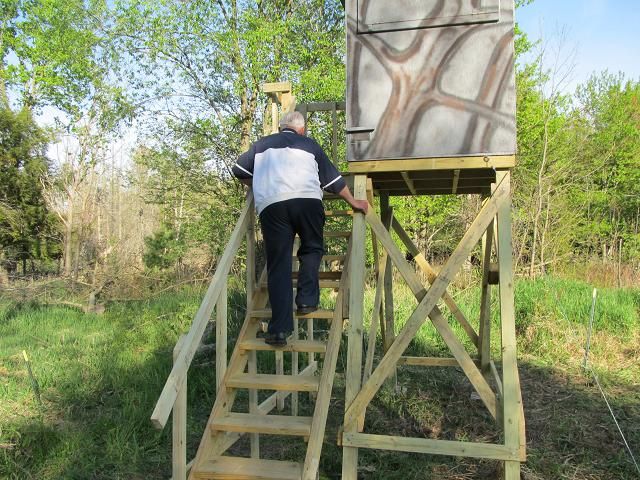
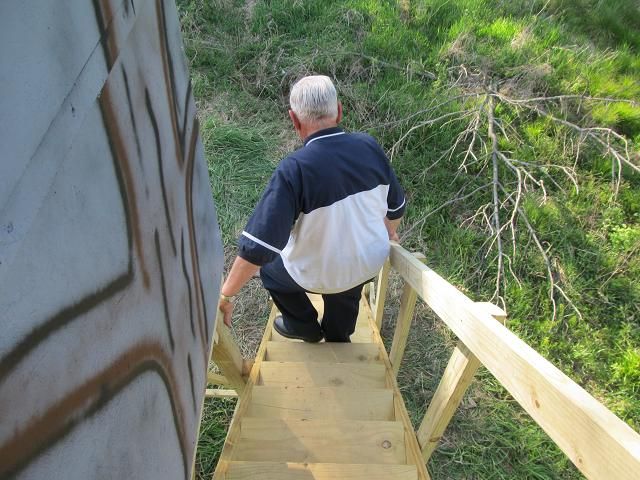
When the stand was finished I attended a first communion celebration for my niece. Then I came back with my father to show him the completed stand. He liked it and it was easy to climb the staircase with his 77 year old knees.
I started the design of this stand back in Dec of last year (2011). It took 5 months to complete working on and off as time and weather would allow. It was a fun project that several people will be able to enjoy for years to come.
Man, you sure did a heck of a nice job on that stand. Looks, strong, safe and well thought out. Your right! It sure will provide some good hunting for those that use it.


 Awesome job Ron!